Introduction
Deploy your AI agents to production at scale
Pipecat Cloud is currently in beta. We are actively developing new features and improving the platform. If you have any feedback or feature requests, please reach out to us!
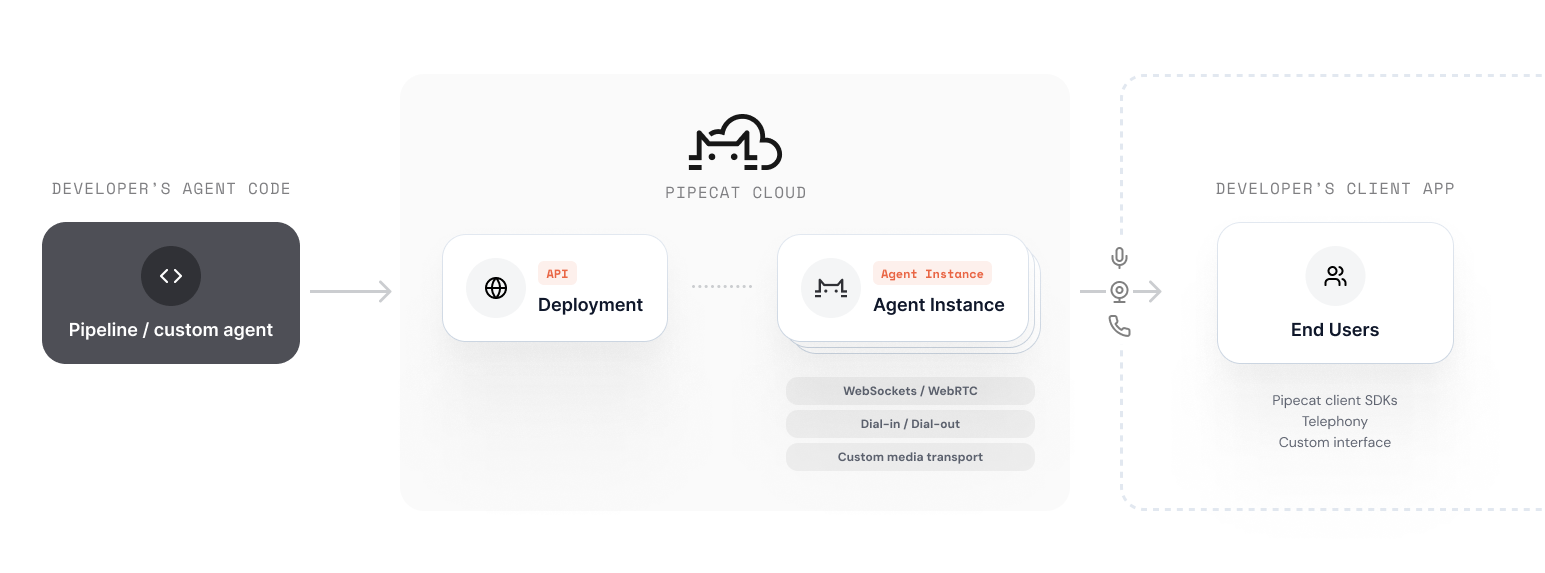
Pipecat Cloud is a managed platform for hosting and scaling AI agents into production. Purpose-built for the Pipecat framework, Pipecat Cloud makes it easy for developers to deploy Pipecat pipelines or custom agentic workflows.
Platform summary:
- Built from the ground up for agentic use-cases and the Pipecat ecosystem
- Flexible configuration options for customizing your deployment
- Blazing fast availability and performance tuned for agentic use-cases
- Cross-platform client SDKs for frictionless application development
- Real-time monitoring and observability
- Cost effective and scalable
- Secure and compliant
- First-party integrations from best-in-class providers
- Pre-made templates for common agentic workflows
Pipecat Cloud is built by Daily , leveraging over a decade of experience building infrastructure management and real-time voice and video capabilities.